A pillow block bearing is one of the easiest bearings in a plant to replace. It’s also one of the easiest to replace badly. A unit fitted onto a burred shaft, locked with guesswork torque and packed with grease at standstill can run hot within hours and fail within weeks.
This guide covers the full job for UC-series units (UCP, UCF, UCFL and UCT): identifying the replacement, removing the old unit, checking the shaft and base, locking the new insert, greasing it correctly and confirming it runs as it should. It’s written for fitters and maintenance engineers doing the work on site.
Before You Start: Identify Exactly What You Are Replacing
Read the marking on the housing and insert
Most pillow block units carry a cast marking on the housing and a stamped number on the insert. Take UCP 208 as an example:
- UC: an insert bearing with a wide inner ring, locked to the shaft by set screws
- P: the housing type, here a two-bolt pillow block
- 208: the size. From 04 upwards, multiply the last two digits by 5 to get the shaft diameter in mm, so 208 fits a 40 mm shaft. Sizes 01, 02 and 03 are 12, 15 and 17 mm.
The housing letters tell you how the unit mounts:
| Housing code | Type | Typical mounting |
|---|---|---|
| UCP | Two-bolt pillow block | Horizontal base, shaft parallel to the mounting surface |
| UCF | Four-bolt square flange | Wall or vertical frame, higher rigidity |
| UCFL | Two-bolt oval flange | Lighter vertical or wall mounting |
| UCFC | Round flange with spigot | Located in a machined bore |
| UCT | Take-up unit | Belt and chain tensioning on conveyors |
One point catches people out. A UCP 308 and a UCP 208 both fit a 40 mm shaft, but the 300 series is the heavier-duty range with a larger housing. The bolt centres and centre height are different, so one will not drop onto the other’s base. Match the full number, not just the bore.
The same applies across brands. UC-series units follow common dimensions, but a maker’s own ranges don’t always match them. SKF’s SY and FY units, for example, are not a direct swap for UCP and UCF housings. If you are changing brand or series, compare the centre height and bolt-hole centres before you order.
If the marking has worn off, measure the shaft diameter and the distance between the mounting-bolt holes. With those two numbers, a supplier can usually identify the unit.
Check how the insert locks to the shaft
Pillow block inserts are held on the shaft in one of three ways, and each is fitted differently:
- Set screw locking (UC series): two grub screws in the extended inner ring bear directly on the shaft. This is the most common type.
- Eccentric locking collar: a separate collar with an eccentric recess is turned onto a matching step on the inner ring, wedging the bearing to the shaft. It’s then secured with a single set screw. Makers use different designations for these inserts.
- Adapter sleeve (tapered-bore inserts, such as the UK series): a tapered sleeve and nut clamp the insert onto the shaft. These are common on larger shafts.
Replace like with like unless there is a clear reason to change. The locking method affects how the unit handles vibration, reversing loads and shaft condition.
Whole unit, or insert only?
If only the insert has failed and the housing is sound, you can replace the insert alone. If the housing is cracked, the bore is worn or the base has been distorted, replace the complete unit.
On site, most maintenance teams replace the complete unit. It costs little more than an insert, and it removes any doubt about a worn housing seat.
Tools and Parts to Have Ready
- The replacement unit or insert, checked against the old one before you start
- Hex keys for the set screws, and a torque wrench that reads in N·m
- A spanner or socket for the housing bolts, plus hardened washers
- A soft-faced (plastic or copper) hammer and, for eccentric collars, a drift punch
- A fine file or emery cloth, a clean rag and light machine oil
- A vernier caliper or micrometer to check the shaft
- A grease gun loaded with a compatible grease
- Shims, if the base needs levelling
- Lockout devices and tags for the drive
Step 1: Isolate the Machine and Make It Safe
Isolate the drive at its power source and apply a lock and tag before anyone works on the shaft. A conveyor or fan that restarts while a hand is near a bearing housing causes serious injuries.
Once the drive is isolated:
- Release belt or chain tension so the shaft is not under load.
- Support the shaft if removing the unit will leave it unsupported.
- Mark the position of the old unit on the base. A scribe line or paint mark makes it easier to refit the new one in the same place.
Step 2: Remove the Old Unit
- Clean around the unit. Dirt knocked into an open housing or onto the shaft causes the next failure.
- Release the locking.
- Set screw inserts: back both set screws out fully.
- Eccentric collars: loosen the collar’s set screw. Then tap the collar against the direction of rotation with a drift in its hole to free it.
- Adapter sleeve units: bend back the lock washer tab and loosen the nut.
- Unbolt the housing from the base.
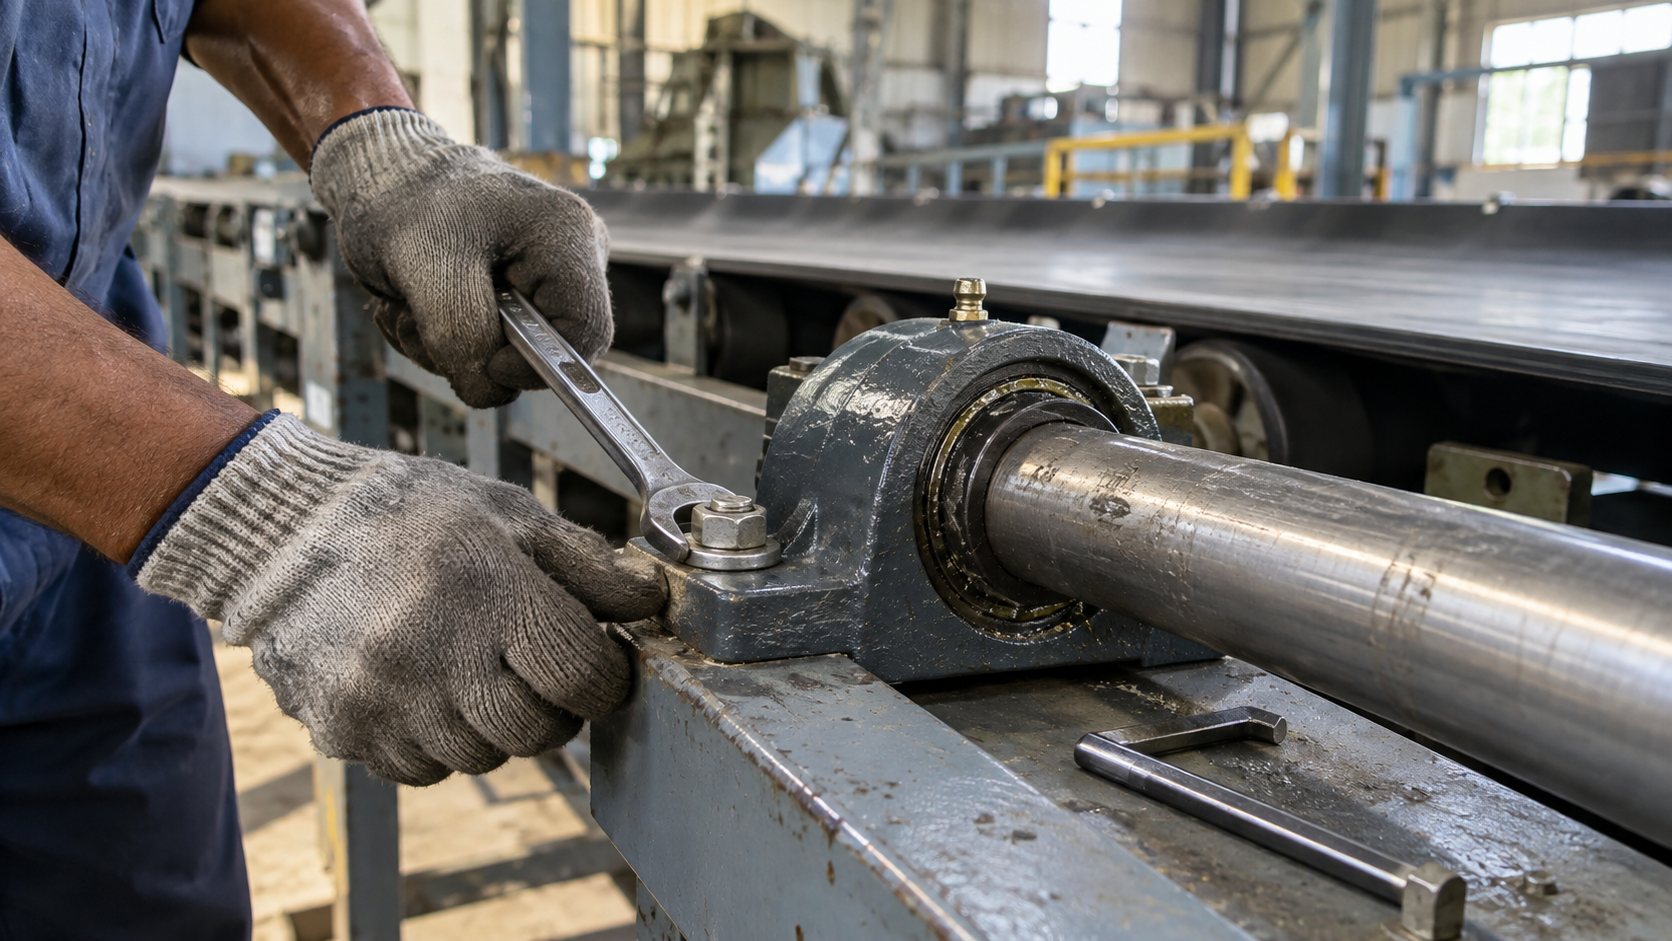
- Slide the unit off the shaft. If it resists, don’t hammer the housing or the inner ring. Set screws often leave raised burrs where they bit into the shaft, and those burrs are usually what stops the bearing from sliding off. Dress them down with a fine file or emery cloth, apply a little penetrating oil, and try again.
If the bearing has seized to the shaft, stop and assess the shaft before forcing anything. A shaft that has to be driven hard to release the bearing may need repair.
Step 3: Inspect the Shaft and the Mounting Base
This is the step most often skipped, and it’s the one that decides how long the new bearing lasts.
The shaft
- Is it straight? A bent shaft will overload any new bearing.
- Is it clean? It should be free of burrs, set screw marks and fretting (the rusty, dull patches left by movement between the inner ring and the shaft).
- Is the end chamfered? A lightly chamfered shaft end lets the insert slide on without catching.
- Is it the right size? Measure it at the bearing seat. Insert bearings normally run on a slightly loose fit. As an example, Asahi Seiko specifies a js7 tolerance for general use, which works out to about ±0.0125 mm on a 40 mm shaft. A shaft worn well undersize will let the inner ring creep, and a new bearing won’t cure that.
If the shaft is scored, worn or out of tolerance, repair or replace it. Otherwise, expect the new bearing to fail the same way.
The mounting base
The base must be rigid and flat, so that bolting the housing down doesn’t distort it. Asahi Seiko specifies a flatness of 0.1 mm or less for units up to a 65 mm shaft, and 0.15 mm for 70 mm and above. Check a painted or fabricated base with a straightedge. Shim it if necessary, but use full-length shims rather than small packers under one corner.
Step 4: Fit the New Unit onto the Shaft
- Retract the set screws. Make sure the set screw tips don’t protrude into the bore before you slide the unit on. If they do, they’ll score the shaft on the way on.
- Apply a light film of oil to the shaft.
- Slide the unit into position slowly and squarely. Don’t let the shaft end strike the inner ring or the seal. Never hammer the inner ring, the seal or the flinger (the thin metal ring beside the seal). A hard knock can push the flinger into the seal. The unit then runs with extra drag, heat and noise from the first minute.
- Fit the housing bolts with washers, finger-tight at first.
- Align the unit. Rotate the shaft by hand and let the housing settle into line. With two or more units on one shaft, check they are square to the shaft and at the same height.
- Tighten the housing bolts to the correct torque.
The same care applies after the bearing is on. If you later hammer a pulley or sprocket onto the shaft, the shock travels into the bearing and can cause the same seal damage. Press or draw drive components on instead.
Step 5: Lock the Insert to the Shaft
Set screw inserts
Tighten both set screws evenly with a hex key. For inserts with two set screws:
- Tighten the first screw to about half the recommended torque.
- Tighten the second screw to full torque.
- Go back and tighten the first screw to full torque.
Use the torque value published by the maker of the unit you are fitting. As an example, Asahi Seiko publishes the following values for its set screw inserts:
| Insert size | Hex key (mm) | Tightening torque (N·m) |
|---|---|---|
| UC201 – UC203 | 3 | 3.9 |
| UC204 – UC206 | 3 | 4.9 |
| UC207 – UC209 | 4 | 11.8 |
| UC210 – UC213 | 5 | 23.5 |
| UC214 – UC216 | 6 | 39.2 |
Source: Asahi Seiko instruction manual, insert bearing units (set screw type). Other makers publish different figures. NTN-SNR, for example, lists 5.5 N·m for its UCFL205. Always check the data for your brand.
More torque isn’t better. Over-tightened set screws can distort the inner ring, reduce running accuracy and crack the ring.
On shafts subject to heavy vibration, shock or axial load, makers recommend spotting the shaft where the set screws seat. You can grind a small flat, or drill a shallow dimple so the screw tip sits just below the shaft surface. A shouldered shaft with a locking nut is better still.
Eccentric locking collar inserts
- Push the collar onto the shaft so its eccentric recess engages the matching step on the inner ring.
- Turn the collar by hand in the direction the shaft rotates until it grips.
- Put a drift punch in the collar’s hole and give it a firm tap with a soft hammer to lock it.
- Tighten the collar’s set screw.
Turning the collar the wrong way is a common mistake. The collar can then work loose in service, and the bearing starts to creep on the shaft. On drives that run in both directions, lock the collar harder with the drift. Better still, use a shouldered shaft, or consider a different locking method.
Adapter sleeve units
Tapered-bore inserts are driven up their sleeve by tightening the nut. The bearing’s internal clearance is reduced as it moves up the taper, so follow the maker’s figure for how far to tighten the nut. Then lock the nut by bending a tab of the lock washer into a slot. Adapter sleeves are more common on the larger split housings covered in our guide to plummer blocks and adapter sleeves.
Step 6: Grease Correctly
Most UC inserts come pre-greased from the factory, so a new unit doesn’t need packing before it runs. Where the housing has a grease nipple, the aim is to top up the bearing over its life, not to fill the housing on day one.
- Use a compatible grease. Mixing grease types (for example, a lithium grease with a calcium or polyurea grease) can soften the mix and reduce protection. If you don’t know what’s in the bearing, use the maker’s recommended type. Our guide to choosing bearing grease explains NLGI grades and base types.
- Don’t pump in a large amount with the machine stopped. The pressure can lift the seals into the flinger, which causes overheating. Makers recommend greasing with the shaft turning slowly, or turning it by hand between shots.
- Grease in small shots. The amount per shot is small: Asahi Seiko lists about 1.4 g for a UC205, 3.9 g for a UC208 and 10 g for a UC212. If you can’t measure it, add grease until a little old grease appears at the seal lip, then stop.
How often to relubricate depends mostly on temperature and conditions. As a guide, Asahi Seiko publishes these intervals:
| Bearing temperature | Very clean | Very dirty | Very dirty, very humid, splashing |
|---|---|---|---|
| 50°C or less | 3 years | 6 months | 3 months |
| 70°C | 1 year | 2 months | 1 month |
| 100°C | 2.5 months | 2 weeks | 1 week |
The spread in this table is the point. The same UCP 208 might need grease every three years in a clean packing hall, but every month on a hot, dusty, wet line. Wash-down areas and plants that stay humid for months need shorter intervals than a dry workshop.
Where moisture or corrosion is the main problem, stainless steel pillow block units are often a better answer than more frequent greasing. For high temperatures, heat-resistant bearings are built with larger internal clearance (C3 or C4) and a high-temperature grease.
Step 7: Run It and Check It
Don’t hand the machine back as soon as the bolts are tight.
- Turn the shaft by hand. It should rotate smoothly, with no tight spots or rough patches.
- Run it under power and listen. Touch a listening rod or a long screwdriver to the housing and put your ear to the handle. A healthy bearing gives a smooth, even hum. Grinding, clicking or a rhythmic knock means something is wrong with the fitting.
- Check the temperature. Take readings on the housing with a contact or infrared thermometer. It’s normal for the temperature to rise at first. It usually levels off within 2 to 3 hours of starting. If it keeps climbing, or the housing gets too hot to touch, stop and check the alignment, the locking and the amount of grease.
- Record the readings. A note of the temperature and noise at commissioning gives you something to compare against at the next inspection. That’s how you catch a failure early.
Five Mistakes That Shorten the Life of a New Pillow Block
- Fitting onto a damaged shaft. Set screw burrs, fretting and wear will damage a new insert quickly.
- Hammering the unit into place. A knock on the inner ring or flinger damages the seal before the bearing has turned once.
- Guessing the set screw torque. Too loose and the insert creeps on the shaft. Too tight and the inner ring can crack.
- Turning the eccentric collar the wrong way. A collar turned against the direction of rotation will work loose.
- Over-greasing at standstill. Pumping grease into a stopped bearing blows out the seals and causes the overheating the grease was meant to prevent.
When Replacing the Bearing Won’t Fix the Problem
If the same position keeps failing, the bearing is usually a symptom, not the cause. Before fitting a third or fourth unit, check:
- Alignment: whether the units are in line and at the same height on a long shaft
- Belt or chain tension: over-tensioning puts a heavy radial load on the bearing nearest the drive
- Shaft condition: bend, wear or a loose fit at the bearing seat
- Base condition: a flexing base or loose foundation bolts
- Environment: water, dust or chemicals getting past a standard seal
- Duty: whether the load or speed is higher than the unit is rated for
Sometimes the right answer is a different product rather than the same one again: a heavier 300-series unit, a stainless or thermoplastic housing, a triple-lip seal, a heat-resistant insert, or a split plummer block for a larger shaft. If you’re not sure which applies, share the application details with your supplier before re-ordering.
Frequently Asked Questions
Can I replace just the insert bearing and keep the old housing?
Yes. If the housing is undamaged and its bore isn’t worn, you can fit a new insert into the old housing. Tilt the insert at right angles to the housing and enter it through the notch in the housing bore, making sure the outer ring’s locking pin sits in the notch. Then swing it into line. If the housing is cracked or distorted, replace the complete unit.
What torque should I use on pillow block set screws?
Use the value published by the maker of your unit, because it varies by brand and size. As an example, Asahi Seiko specifies 4.9 N·m for its UC204–UC206 inserts and 11.8 N·m for UC207–UC209, while NTN-SNR lists 5.5 N·m for its UCFL205. Don’t over-tighten, as this can crack the inner ring.
Which way do I turn an eccentric locking collar?
Turn it in the direction the shaft rotates when the machine runs. Turned the other way, it can loosen in service.
How much grease should I put in a pillow block bearing?
Less than most people expect. A new unit is already greased at the factory. When relubricating, add a small shot of a few grams, with the shaft turning slowly if it’s safe to do so. Stop when a little old grease appears at the seal.
Why is my new pillow block bearing running hot?
The usual causes are too much grease, a seal damaged during fitting, misalignment, an over-tightened housing on an uneven base, or excessive belt tension. A temperature rise that levels off within a few hours is normal. One that keeps climbing isn’t, so stop the machine and check.
Need a Replacement Unit?
Pragati Enterprises has supplied pillow block bearings from Nagdevi Street, Masjid Bunder, Mumbai since 1997. We stock UCP, UCF, UCFL and take-up units in SKF, FAG and NTN, alongside China-make options. We supply single pieces or bulk quantities with GST invoices, and dispatch within 24 hours.
Send us the marking from your old unit, or the shaft diameter and bolt-hole centres, along with the quantity you need. We’ll reply within 12 hours.